Epoxy Floor Kit: Getting to Know The Basics
January 17, 2024

When it comes to giving your floor a makeover, nothing beats the functionality and aesthetics of using an epoxy floor kit. These kits are not just a trend; they’re a revolution in the concrete flooring world.
Whether it’s for your own garage floor, basement, or commercial space, an epoxy floor kit offers a blend of durability, style, and practicality.
Let’s delve deep into just what makes epoxy kits a must-have for homeowners and business owners alike.
What is an Epoxy Floor Kit?
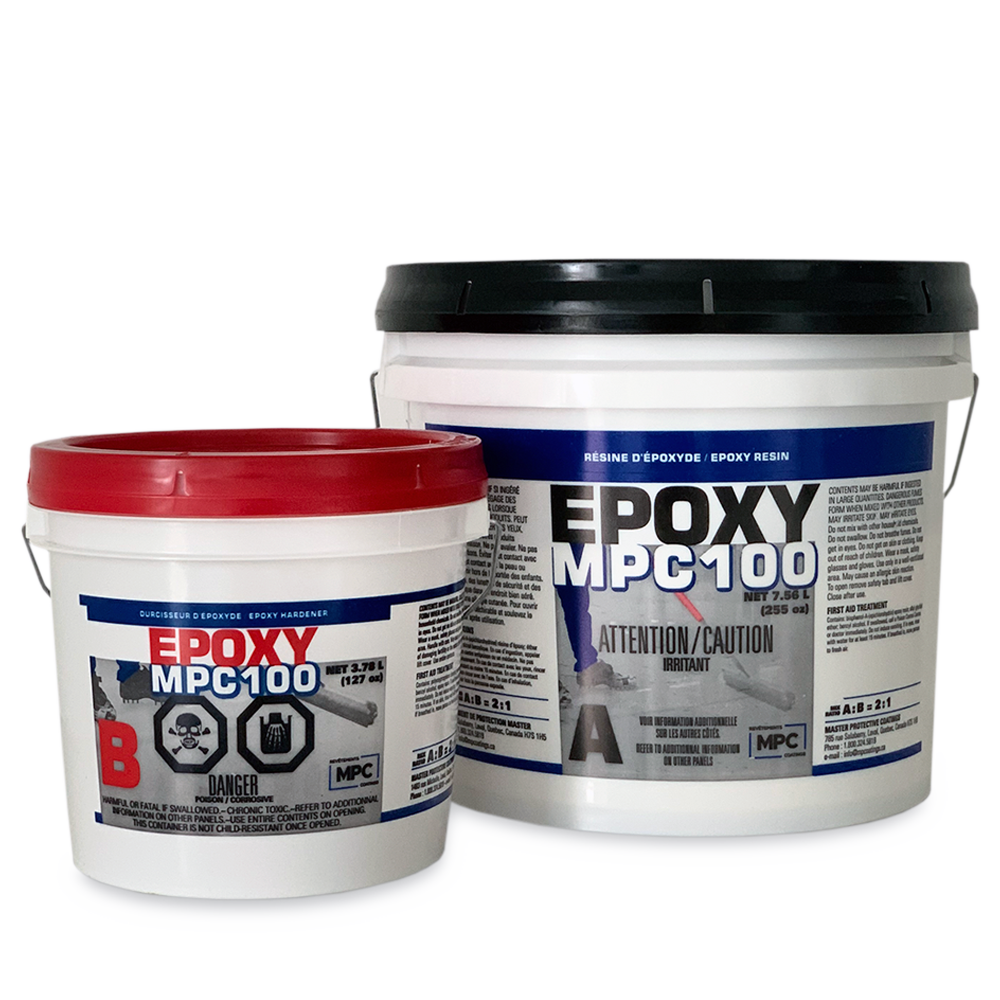
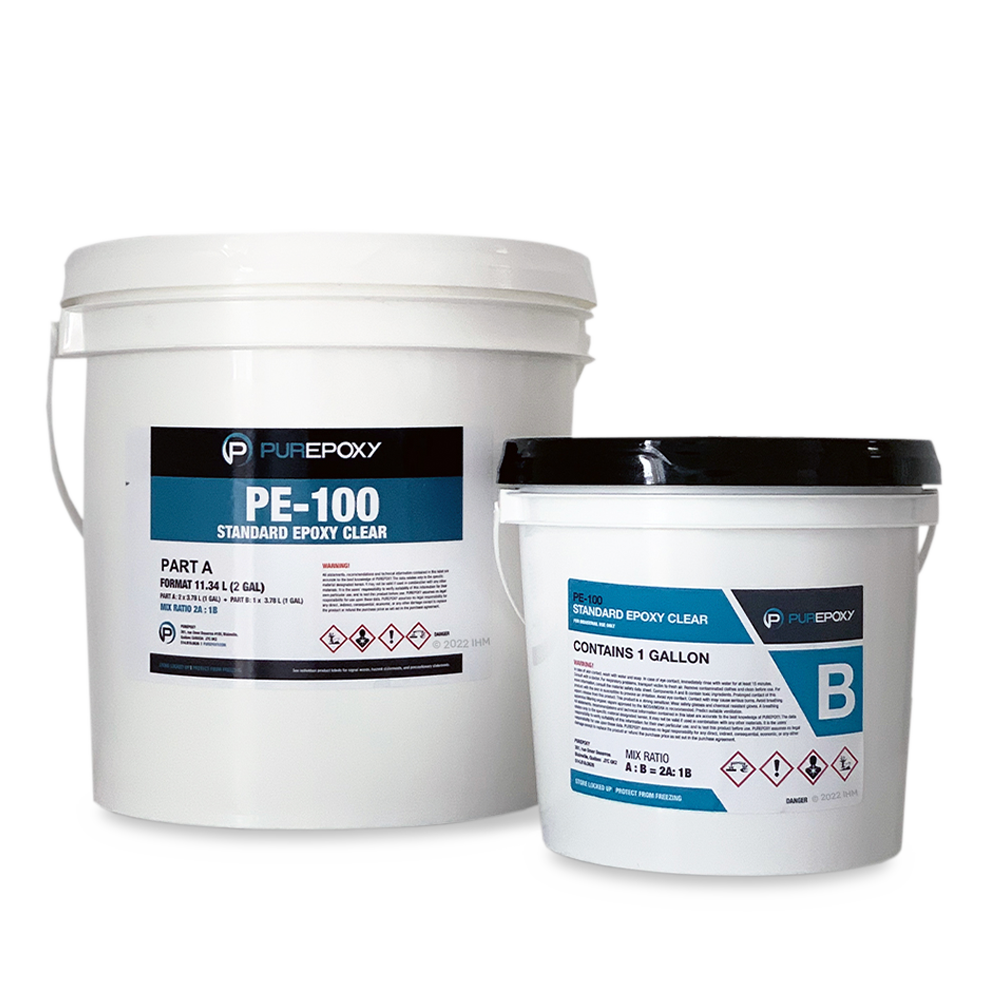
An epoxy floor kit is a package that includes all the materials and instructions needed to apply an epoxy coating to a floor. Typically, epoxy kits contain a two-part epoxy formula, consisting of an epoxy resin and a hardener.
When you mix the two-part epoxy formula, consisting of an epoxy resin and a hardener, a chemical reaction occurs. This reaction transforms the liquid components into a solid, thermosetting polymer with distinct properties. Here’s what happens during the process:
- Mixing: Upon combining the epoxy resin with the hardener, the molecules of these two components start reacting chemically.
- Cross-Linking: The reaction involves a process called cross-linking, where the resin molecules bond with those of the hardener. This cross-linking creates a highly durable, three-dimensional network of chemical bonds.
- Hardening: As the reaction progresses, the mixture changes from a liquid to a solid state. This hardening process increases the strength and toughness of the material.
- Heat Generation: The chemical reaction is exothermic, meaning it releases heat. The amount of heat produced can affect the curing time and the final properties of the epoxy.
- Curing Time: The curing process can vary in duration depending on the specific formula of the epoxy, the temperature, and other environmental factors. It typically takes a few hours to a day for the epoxy to become hard to the touch, but it can take several days to fully cure and achieve its maximum strength and resistance properties.
Once fully cured, the epoxy forms a hard, durable surface that is resistant to moisture, chemicals, stains, and abrasions. This transformation is what makes epoxy an excellent choice for flooring applications where durability and longevity are essential.
In addition to using an epoxy floor kit, decorative elements like flakes, solid colors, or metallic pigments are used to customize the floor surface.
A Spectrum of Uses
Epoxy floor kits are incredibly versatile. They are perfect for residential garages, where they protect garage floors against oil spills and tire marks.
But, their use goes far beyond residential applications. Think retail stores or commercial showrooms, where aesthetics are just as important as durability, or industrial warehouses that demand a floor capable of withstanding heavy loads.
Aesthetic Appeal
One of the most appealing aspects of an epoxy floor kit is the range of finishes and colors available. From solid colors that give a clean, professional look to intricate patterns with metallic or flake designs, the customization options are endless.
You can even get creative with custom blends, color combinations, and designs for a truly unique look.
Plus, company logos and other design elements can be added in to match your corporate identity or current room’s themes.
Durability and Maintenance: A Win-Win
Epoxy flooring is known for its longevity and ease of maintenance. Resistant to stains, abrasions, and chemicals, an epoxy-coated floor can last for years with minimal care.
Cleaning is as simple as a quick sweep and a mop, making it an excellent choice for both busy households and high-traffic commercial spaces.
DIY-Friendly or Professional Installation?
One of the best things about an epoxy floor kit is its DIY, homeowner-friendly nature. Most epoxy kits come with detailed instructions, making it possible for homeowners to undertake the project themselves. It’s important to note that additional equipment such as grinders and application tools are needed. For this reason, and to achieve maximum results, it’s best to explore both the DIY and professional installer routes. Compare costs, weigh your options, and go from there.
For larger epoxy installations, especially in complex spaces, professional installation is the way to go.
Preparing Your Floor for Epoxy
Preparing your floor for an epoxy application is a crucial step that determines the longevity and finish quality of the epoxy coating. Proper preparation ensures that the epoxy adheres well and provides a smooth, durable surface. Here’s a brief overview of the preparation process:
- Cleaning the Floor: Begin by thoroughly cleaning the area. Remove any oil, grease, or chemicals with a suitable cleaner. Sweep and vacuum the floor to eliminate all dust and debris.
- Grinding the Surface: Using a grinder with diamond bits is an efficient way to prepare the concrete surface. The grinder effectively removes the top layer of concrete, creating a rougher surface for better epoxy adhesion. It also helps to eliminate any existing coatings, stains, or minor imperfections on the floor.
- Repairing Cracks and Damage: After grinding, inspect the floor for cracks or damages. Use a concrete crack filler product to fill in any cracks, holes, or uneven areas. Ensure the repair material is fully cured before proceeding.
- Addressing Moisture Issues: Check for any moisture issues. If there are signs of excessive moisture, it might be necessary to apply a moisture barrier before the epoxy coating.
- Final Cleaning: After grinding and repairs, thoroughly clean the floor again to remove any dust or particles created during the grinding process. This can be done by sweeping, vacuuming, and mopping the floor.
- Etching the Surface (If Needed): Some professionals recommend acid etching the concrete surface for additional surface preparation. This involves applying an acid solution to open up the pores of the concrete, then neutralizing and rinsing it thoroughly.
- Drying the Floor: Before applying epoxy, ensure the floor is completely dry. Any moisture can prevent the epoxy from adhering correctly.
Properly preparing your floor may seem like a time-consuming task, but it is essential for a successful epoxy application. Skipping any of these steps can lead to poor adhesion, resulting in a floor that may peel, crack, or not last as long as it should.
The Installation Process
Applying an epoxy floor coating is a straightforward but meticulous process. After mixing the resin and hardener, you have a limited time to apply the mixture to all surfaces of the floor before it begins to harden. The process often involves applying multiple coats, including a primer coat and a topcoat, for optimal durability and finish.
The installation process of an epoxy floor kit is a critical step that requires attention to detail to ensure a high-quality finish. Here’s a more in-depth look into the stages of applying an epoxy coating:
- Mixing the Epoxy: Start by mixing the resin and hardener included in the epoxy floor kit. It’s crucial to follow the manufacturer’s instructions regarding the proportions and mixing time to ensure the epoxy cures correctly. The mixture should be consistent and free of lumps.
- Epoxy Primer Application (If Applicable): Some epoxy kits recommend applying an epoxy primer coat first. This layer helps with the adhesion of the epoxy to the concrete floor. If using a primer, apply it evenly across the surface using a notched squeegee followed by a roller. For hard-to-reach areas such as corners, you can use a brush. Allow it to dry as specified in the instructions.
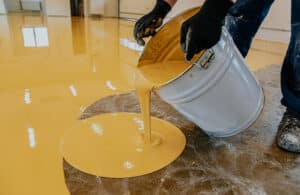
- Applying the Epoxy Coat: Once the primer is dry (if used), pour the mixed epoxy in a ribbon along the edge or corner of the space. Use a notched squeegee to spread the epoxy in thin, even coats. Then, go over the epoxy with a roller. Again, for corners and hard-to-reach areas, you can use a brush. Be sure to work in manageable sections, as the epoxy can start to harden quickly.
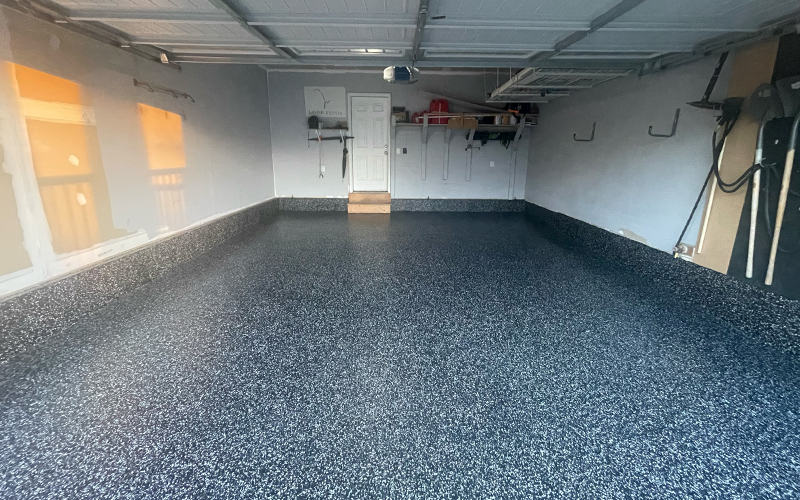
- Adding Decorative Flakes or Colors (If Desired): If your design involves decorative flakes, sprinkle them onto the wet epoxy. Ensure even distribution for a consistent look. This step is typically done while the base coat is still tacky.
- Applying a Top Coat: Once the base coat (and flakes, if used) is dry, apply a clear top coat. This layer enhances the durability and provides a high-gloss finish. It also seals any decorative elements added to the base coat.
- Curing Time: After applying the top coat, it’s essential to allow adequate time for the epoxy to cure fully. The surface may be dry to the touch within a day, but it generally takes several days to fully harden. During this time, avoid walking on or placing heavy items on the floor.
- Finishing Touches: After the epoxy has fully cured, inspect the floor for any missed spots or bubbles that may have formed during the application.
The installation process of an epoxy floor kit, while straightforward, demands great attention to detail. It’s essential to maintain a clean environment during application to prevent dust and debris from settling into the wet epoxy.
Proper ventilation and a respirator mask are also crucial due to the fumes that epoxy can emit. Following these steps carefully will result in a smooth, durable, and visually appealing epoxy floor that will last for years.
Cost-Effectiveness
Considering its durability and aesthetic appeal, an epoxy floor kit is a cost-effective flooring solution. It’s an investment that pays off in the long run, given the longevity and low maintenance requirements of epoxy floors.
It also adds value to the space, whether that be your home or building since it’s a high-quality upgrade.
Conclusion
An epoxy floor kit is more than just a great product though; it’s a gateway to transforming your space. Whether you’re revamping your garage, upgrading a commercial space, or just looking for a durable and stylish flooring solution, an epoxy floor kit is worth considering.
With its blend of durability, aesthetic versatility, and practical benefits, an epoxy coating kit is a top choice for a variety of flooring needs. Dive into the world of an epoxy kit and give your floors the makeover they deserve. After all, the right floor can redefine the entire look and feel of a space.
Epoxy Garage Floor Ideas
Explore the most popular garage epoxy designs, colors, and styles.
Frequently Asked Questions
Can Epoxy Floor Kits Be Used Over Old Tiles?
Yes, an epoxy floor coating can be applied over tiles, but the surface must be properly prepared to ensure proper adhesion.
How Long Does Epoxy Flooring Last?
With proper installation and maintenance, epoxy flooring can last 10-20 years in residential settings and 5-10 years in commercial or industrial environments.
How Quickly Can You Use the Floor After Epoxy Application?
You can walk on the floor 24-48 hours after application, but it typically takes about 7 days to fully cure for heavy use or vehicle traffic.